The 6 Things You Need to Know When Building Brisbane Carports
Is your car or SUV currently parked in the open and regularly exposed to heat, wind, and snow? If your vehicle is exposed to the elements at home, it may be time to build a carport. A carport may feel like a daunting home improvement project, but it can add value to the property and protect your car. But, before you start building Brisbane carports, here are six things that you should consider.
Location, Location, Location
When building Brisbane carports, the first major consideration is its location. Where’s the best spot to construct a new structure on your property?
Often, the location of your utilities like gas, water, electricity can help determine where you should have the carport constructed. Identifying the areas where the utility lines are located beneath the surface ensures that the workers don’t accidentally dig them up during the construction.
Government Permits and Approval
Before building Brisbane carports, remember that these structures require government approval. You can get approvals for constructing a carport in advance. Because these are classified structures, they must be built in accordance with local council permits and national construction guidelines.
You need to show a plan and submit it to the local or national authorities to get approval. Consider this before you start constructing so that you don’t have problems partway through the construction of your carport.
Availability of Equipment
When deciding to have a carport built, see if you have the right equipment to make constructing the structure a reality. If you do not have the adequate tools and don’t want to buy them for one project, you could ask your friends and family members to use their equipment.
The basic tools that you need include a shovel, hand saw, measuring tape, string line, carpenter’s square, G-clamps, ladders, adjustable wrench, and a spirit level. You may even require a circular saw, hammer drill, nail gun, angle grinder, and rivet gun. You will also need protective equipment like safety glasses, earplugs, gloves, and overalls. If a DIY project seems too much for you to take on, remember you can always contact the experts at Additions Building Company to make the carport for you.
Preparing the Ground
The next step towards building Brisbane carports is to prepare the ground. Also, if you want to customize the design of your carport, get the relevant materials. For example, if you’re going to use wood, get pressure-treated lumber. If you’re inclined to use metal, then choose a galvanized metal.
Setting the Post and Building the Beams
The next step is to begin digging the holes for the posts. The holes should be equally spaced around the perimeter and must be at least two feet deep. If you are looking for extra stability, setting the poles four feet deep can be beneficial.
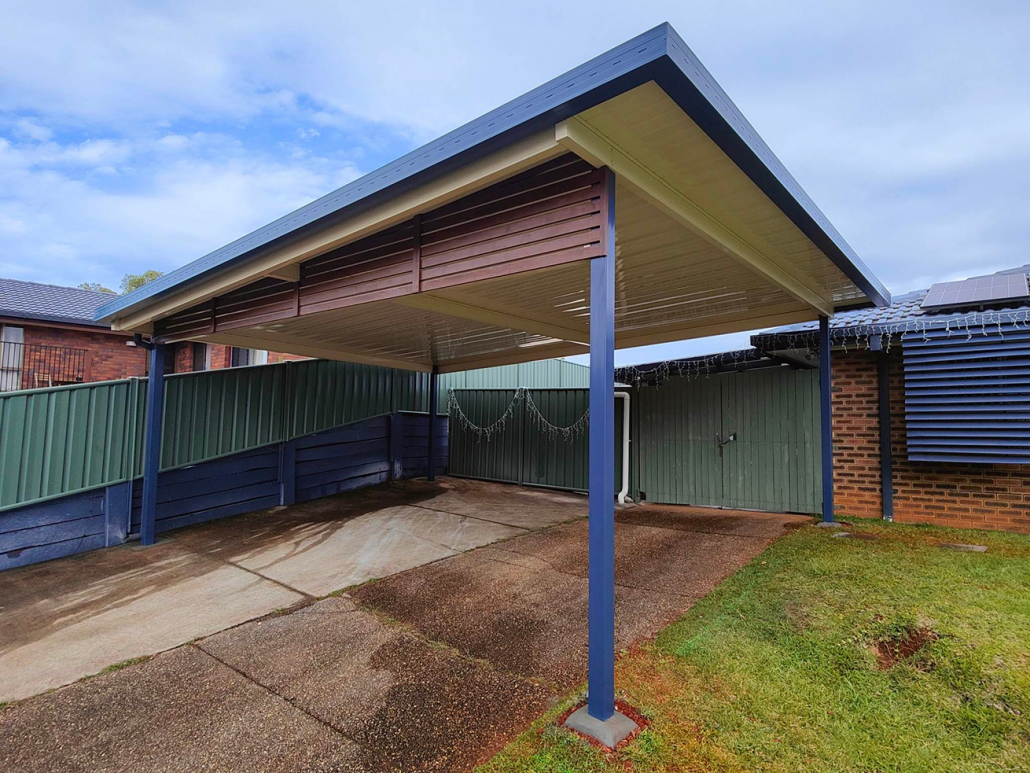
The posts must be nine feet high on one side and eleven feet high on the other side to create a slant for the roof. The slanting roof will allow it to drain rainwater effectively. The three higher posts must be on the side of the carport closer to the house to drain water away from the house’s foundations.
At this stage, you will need to attach the beams and rafters of the structure. These should be attached with bolts and run horizontally on the outside of the carport. You will also need to add the rafters along the beams.
Attaching the Roof
Finally, you need to add the roof. Attach the plywood and seal it to ensure waterproofing. Then, add the shingles.
If you’re looking to add a carport to your property but aren’t sure about building it from scratch, get a DIY kit or have it done professionally through Additions. They have a range of options to suit any home.

